
Interlink Blog
Membrane Keypads: A UK Manufacturer’s Guide to Specifying Them Properly
Membrane keypads explained by a UK manufacturer — construction, tactile options, IP sealing and how to specify a keypad that survives the real world.
Most product teams treat the keypad as an afterthought. The clever bits, the PCB, the firmware, the enclosure, get months of attention, and then somebody remembers that a human actually has to press buttons on the thing. By then the panel cut-outs are fixed, the tolerances are locked, and the membrane keypad has to squeeze into whatever room is left over.
We see it constantly. And it’s a shame, because the keypad is the one part of your product your customer puts their fingers on every single day. Get it right and nobody notices, it just works, year after year. Get it wrong and it’s the first thing that feels cheap.
This is a guide to getting it right. No jargon for the sake of it; just what actually matters when you’re specifying a membrane keypad, written by people who make them in Britain.
So what is a membrane keypad, really?
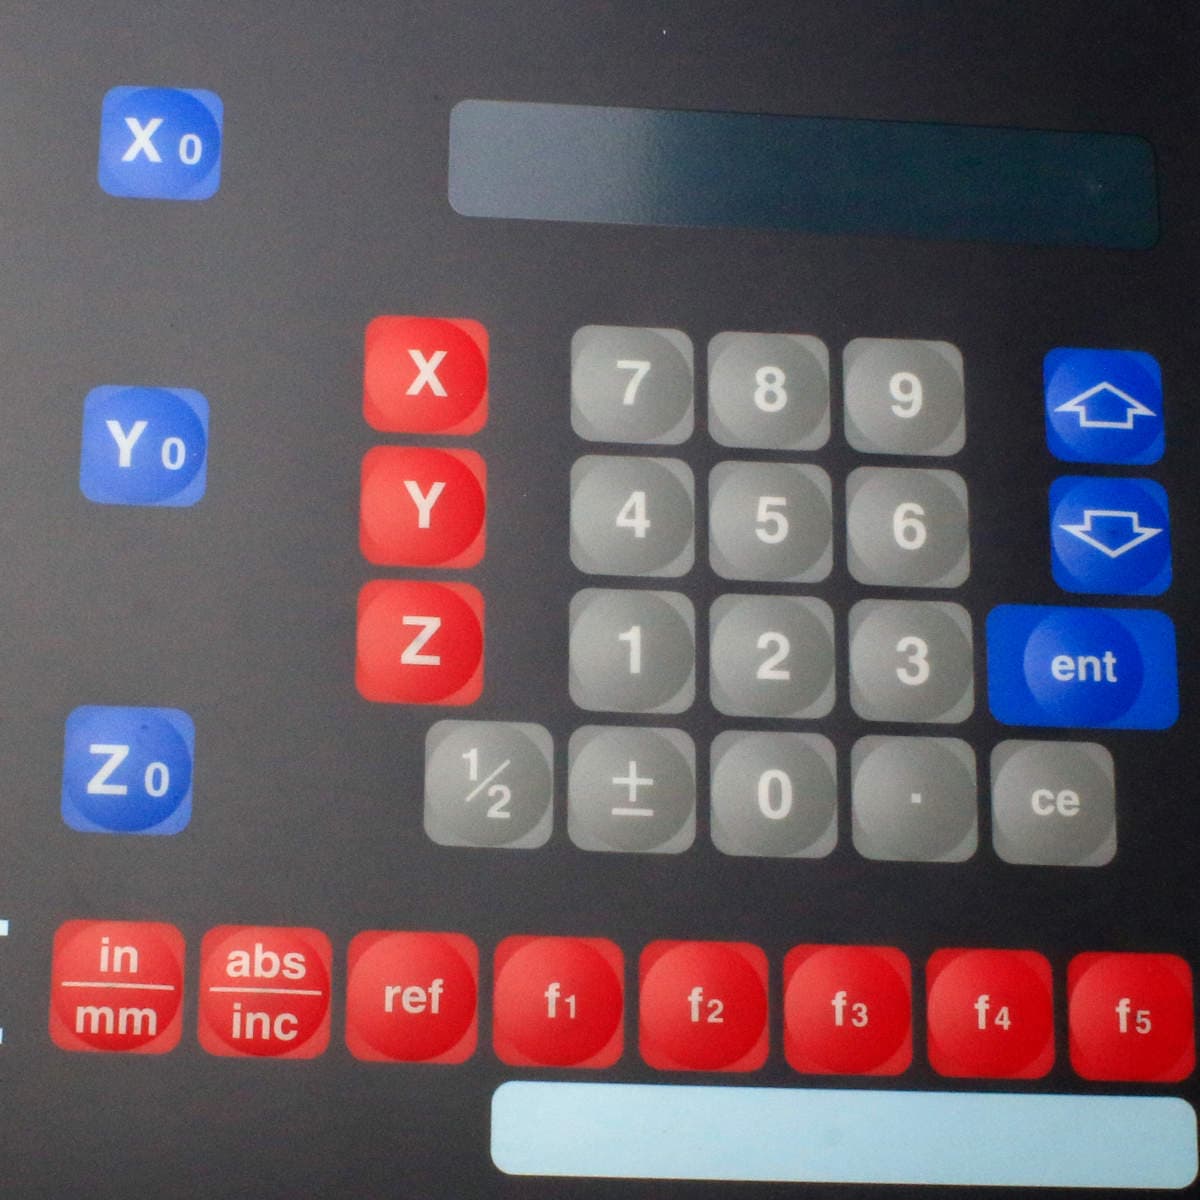
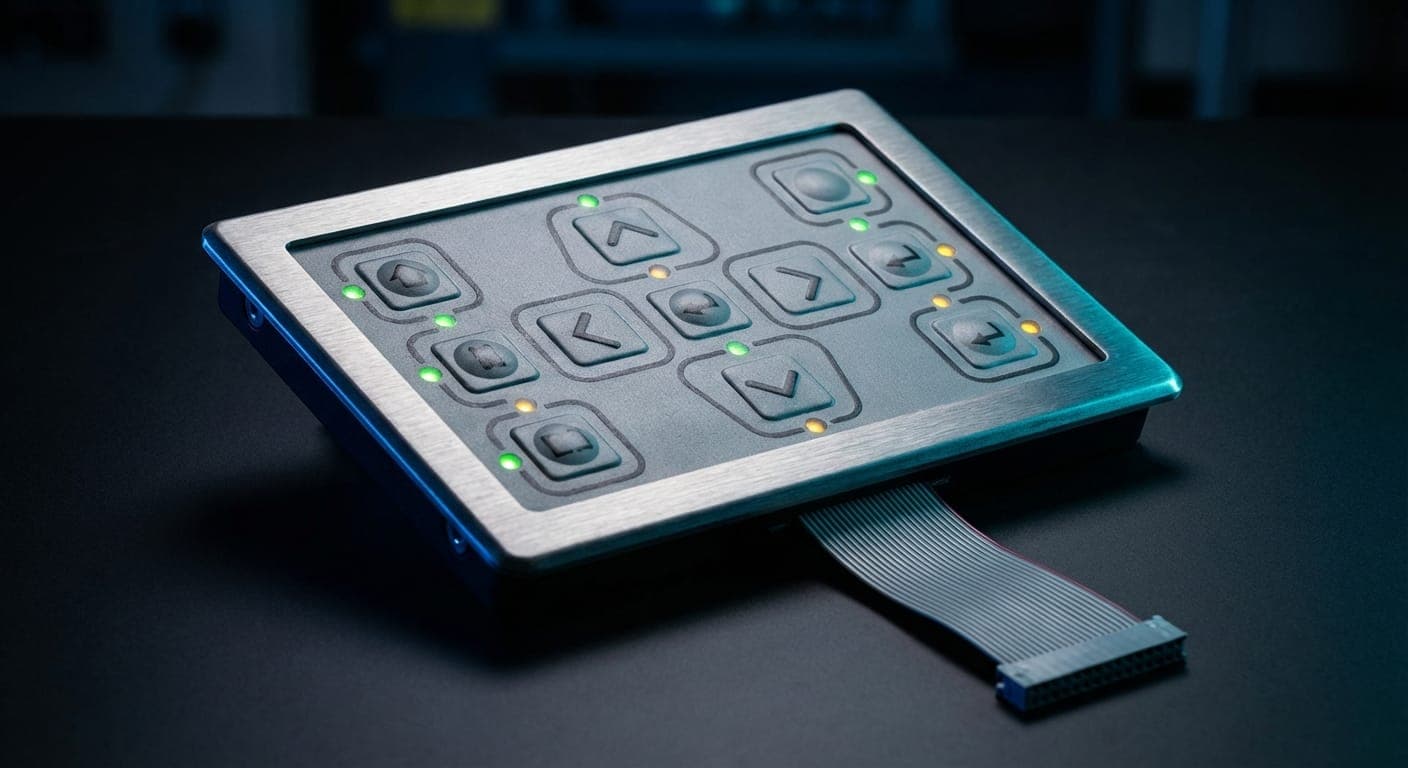
Strip one back and a membrane keypad is a sandwich. There’s a printed graphic layer on top, usually polyester or polycarbonate, carrying your branding, legends and key shapes. Underneath sit adhesive spacer layers, and below those a flexible circuit printed in silver conductive ink on a PET film. Press a key, two contacts meet, the circuit closes, and your electronics see a button push. Let go and a tiny air gap springs the contact back open.
That’s the whole trick. The art is in the details: which materials, what kind of “click” (if any), how it’s sealed, how the graphics are printed, and how the lot behaves after a hundred thousand presses somewhere hot, wet, greasy or all three.
The tactile question: to click or not to click
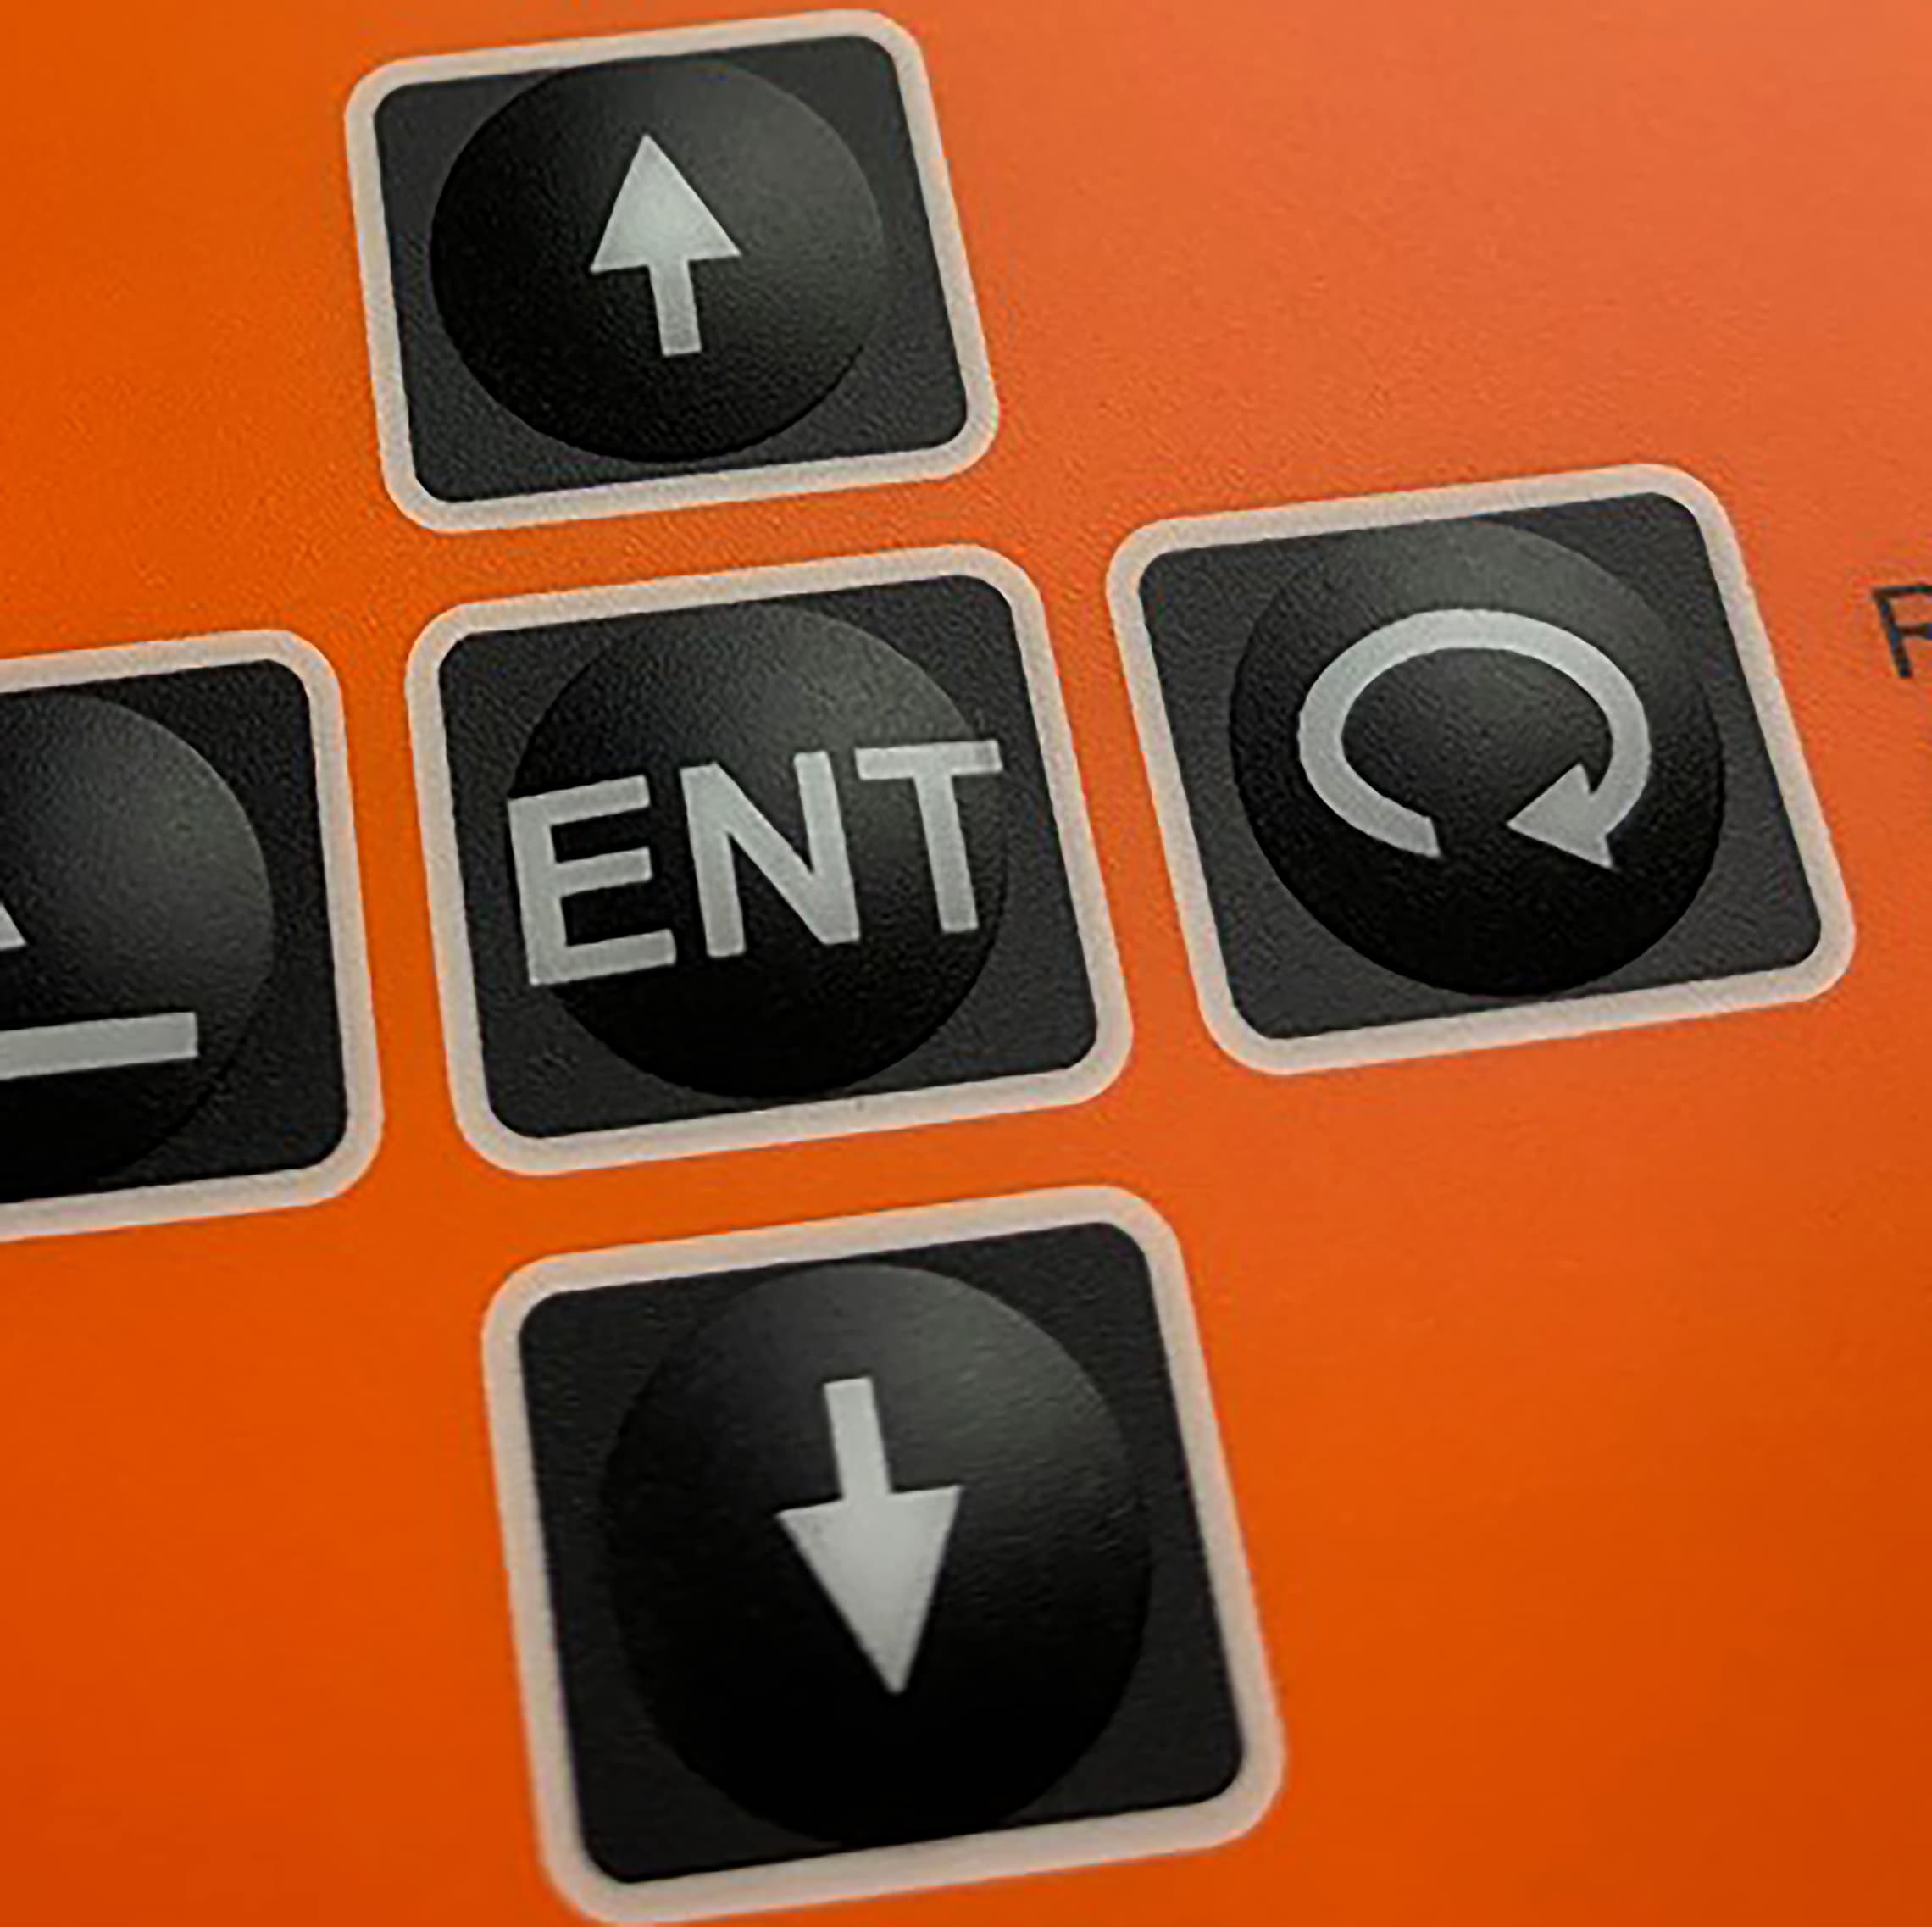
The first decision is feel. You’ve got three broad options.
Non-tactile keys are the flattest and cheapest. There’s no physical feedback, so you’ll usually pair them with a beep or an on-screen response. Fine for low-use functions; frustrating as a primary interface.
Polydome tactile keys use a formed dome in the polyester itself. You get a gentle, quiet click and a long life — handy for medical and other settings where you don’t want a loud snap.
Metal-dome tactile keys are the ones most people picture: a stainless-steel snap dome with a crisp, positive click. Actuation forces typically land between 100 and 500 grams depending on dome size, and a decent dome will survive well past a million operations. If your operator wears gloves or can’t look at the panel while they work, that unmistakable click earns its keep.
Here’s the part people miss — you can mix all three on a single keypad. The big “STOP” button can have a firm metal dome while the menu keys stay soft and quiet. Combining tactile effects and forces on one part is routine, not exotic.
Where keypads go to die (and how to stop it)
A membrane keypad fails in one of a few predictable ways: liquid gets in, the graphics wear off, or the flex circuit cracks. All three are specifiable problems, which means all three are avoidable.
For ingress, ask for sealed edges and the right IP rating for the job. A keypad sealed to IP65 or IP67 shrugs off wash-down, splashes and dust; a food line or an outdoor unit needs that, a desktop instrument probably doesn’t. Don’t pay for sealing you’ll never use — but don’t discover you needed it after the first warranty claim, either.
For the graphics, the enemy is abrasion and UV. A hard-wearing overlay material plus the right surface finish — anti-glare, matte, or a selective gloss window over a display — keeps legends legible for the life of the product. An anti-microbial finish is worth a conversation if the thing lives in a hospital. Many of these choices overlap with graphic overlays, which we often build to match a keypad exactly.
For the circuit, flex life comes down to ink quality and layout. This is why membrane graphics were screen-printed for decades: it gave the adhesion and flex life the part needed. Digital printing has caught up and opened far richer artwork, and honestly the sweet spot now is hybrid — screen-print the bits that take the punishment, digitally print the bits that need the detail.
Build it into the design early. Please.
If you take one thing from this, take this: the keypad should be designed at the same time as the electronics and the enclosure, not bolted on at the end.
When we get involved early, all sorts of cost quietly disappears. LEDs can move off the PCB and into the keypad itself, shrinking the board. Switches can shift from inside the device to the outer surface. Shielding can be printed in rather than added on. We’ve watched clients fit far more functionality into the same footprint simply because the keypad stopped being an afterthought and became part of the architecture. Leave it late and you’re paying to work around decisions that were already made.
Why “made in the UK” is more than a flag on the box
You can buy membrane keypads from the Far East for less per unit. We won’t pretend otherwise. But the headline price isn’t the whole cost.
A UK manufacturer sits in your time zone, talks to your engineers in real time, and turns prototypes around in days rather than waiting on a container. No import-duty surprise, no six-week shipping gap when you need a design tweak, and a great deal less risk to your intellectual property. For low-to-medium volumes and anything still evolving, that responsiveness usually wins on total cost — not just on the spreadsheet line that says “unit price.”
It matters for compliance, too. Manufacturing under a BS EN ISO 9001:2015 quality system, with RoHS and REACH in hand, is far simpler to audit when the factory is a phone call away and the paperwork speaks your regulator’s language.
A quick word on tooling
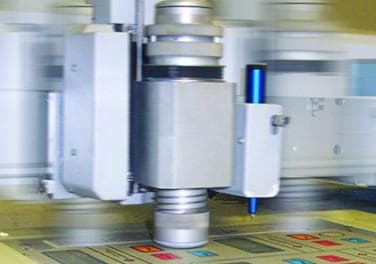
One reason teams overspend on keypads is tooling. Traditional processes want expensive hard tooling before you’ve made a single good part. Digital printing and CNC cutting sidestep most of that, so prototypes don’t cost the earth and complex shapes don’t need a bespoke die. If you’re iterating — and early in a design you should be — that’s the difference between trying three versions and committing to one and hoping.
How to brief your manufacturer
Want a useful quote first time? Tell us:
The environment: indoor, outdoor, wash-down, chemicals, temperature range, and the IP rating you’re targeting.
The feel: tactile or non-tactile, and whether any keys need a firmer action.
The extras: backlighting, embossing, display windows, shielding, connector type and pin-out.
The numbers: prototype quantity, annual volume, and the date you actually need parts.
The artwork: even a rough sketch beats a paragraph of description.
Half a page of that detail saves a fortnight of back-and-forth.
Where to go next
Membrane keypads sit inside a bigger family of interface parts — graphic overlays, labels and printed electronics — and they’re frequently specified together so colours and finishes match across the whole front panel. If you’re weighing up the broader interface, our guide to HMI keypads walks through membrane versus silicone versus capacitive touch and when each one earns its place.
And if you’d rather feel the difference than read about it, ask us for a free sample pack. Real parts in your hand tell you more than any datasheet.
Interlink Electronics manufactures membrane keypads in the UK, from our facility in Irvine, Scotland — where interface parts have been built since 1992. As the inventor of the Force Sensing Resistor, Interlink can take a project from a straightforward four-button panel to a sensor-laden interface. Get in touch.